The cloud computing landscape offers a multitude of options, and sometimes businesses outgrow their initial platform. Migrating from Amazon Web Services (AWS) to Microsoft Azure can be a strategic decision, unlocking new functionalities or cost-efficiency benefits.
This guide provides a step-by-step approach to navigating a smooth and successful AWS to Azure migration.
Table of Contents
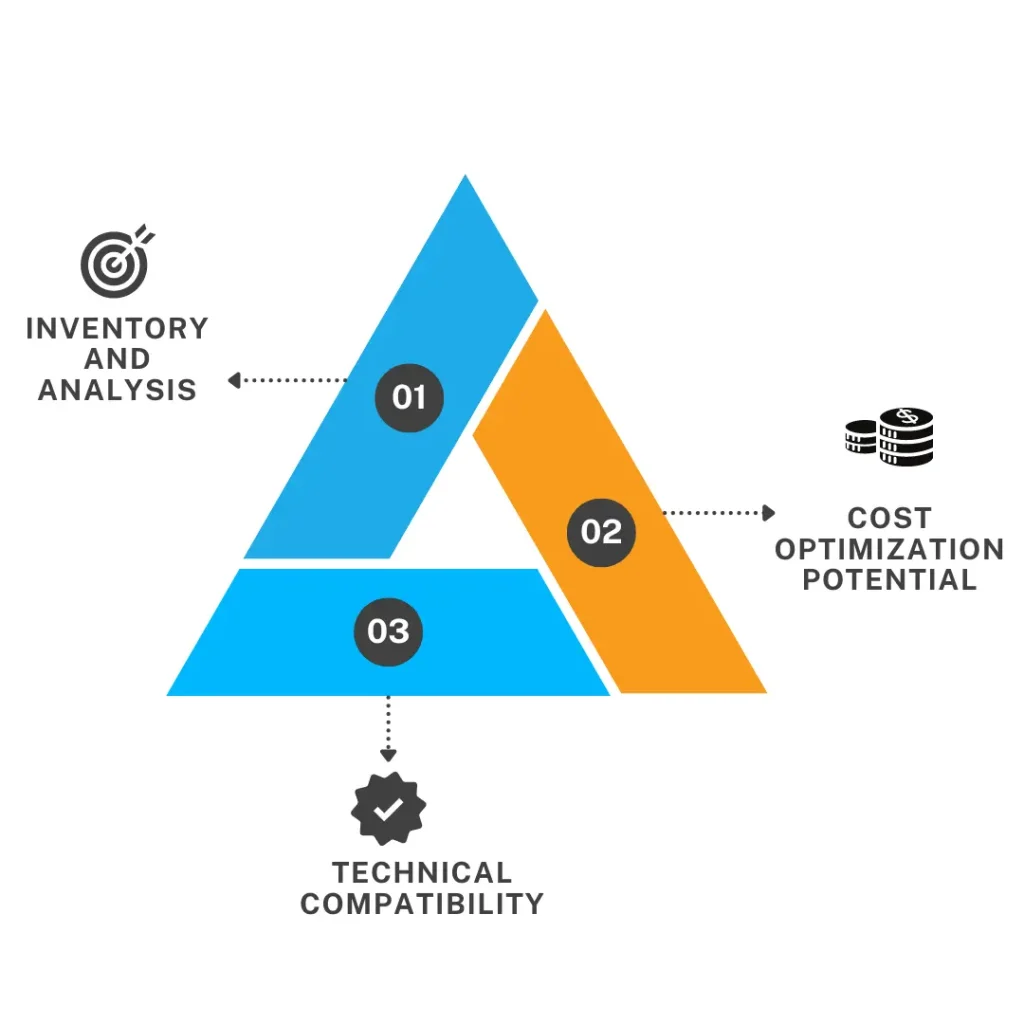
1. Assessment: Understanding Your Current State
The first step in a successful migration from AWS to Azure is a thorough assessment of your current AWS environment. This comprehensive evaluation lays the groundwork for informed decisions throughout the migration process. Here’s a detailed breakdown of the key aspects involved:

1.1 Inventory and Analysis:
- Cataloging Your AWS Resources: Create a detailed inventory of all your resources in AWS. This includes virtual machines (VMs) of various types (compute-optimized, memory-optimized, etc.), databases (relational, NoSQL, etc.), storage solutions (S3 buckets, EBS volumes), and network configurations (virtual private clouds, security groups, etc.). Utilize AWS billing reports, the AWS Management Console, or infrastructure as code (IaC) tools to generate a comprehensive list.
- Resource Utilization Analysis: Don’t just list your resources; understand how they are being used. Analyze metrics like CPU utilization, memory usage, network traffic, and storage consumption for your VMs. Evaluate database query performance and storage access patterns. This analysis helps identify potential areas for optimization in both AWS and Azure.
- Dependency Mapping: Identify dependencies between your AWS resources. Are there VMs that rely on specific databases? Do your storage solutions have access controls linked to security groups? Mapping these dependencies ensures a smooth migration by ensuring all necessary components are moved together and configured correctly in Azure.
1.2 Cost Optimization Potential:
- Understanding Your AWS Bill: Analyze your AWS billing reports to understand your current spending patterns. Break down costs by service category (compute, storage, network, database, etc.) and identify areas where you might be overspending.
- Azure Pricing Model Comparison: Research Azure’s pricing models (pay-as-you-go, reserved instances, etc.) and compare them to your current AWS usage. Azure offers services like virtual machine discounts for sustained use and managed databases with predictable pricing. Evaluate if these models could potentially lead to cost savings for your migrated workloads.
- Total Cost of Ownership (TCO) Analysis: Go beyond just the base service costs. Consider factors like management overhead, licensing fees, and egress charges when comparing AWS and Azure. A TCO analysis provides a more holistic perspective on potential cost savings.
1.3 Technical Compatibility:
- Service Mapping: For each AWS service you utilize, identify the corresponding Azure service with similar functionalities. For example, AWS S3 buckets can be migrated to Azure Blob Storage, and Amazon RDS databases might find an equivalent in Azure SQL Database.
- Compatibility Assessment: Not all services translate perfectly between platforms. Evaluate the level of compatibility between your existing AWS services and their Azure counterparts. Some services might require code modifications or configuration adjustments to function seamlessly in Azure.
- Migration Tools and Dependencies: Research the migration tools available for specific services. Both Microsoft and third-party vendors offer tools to streamline the migration process. Identify any additional software dependencies required for these tools to function effectively.
2. Planning the Migration Journey
Migrating to Azure can unlock a wealth of benefits, but it’s crucial to clearly understand your objectives before diving in. Here’s a breakdown of key goals to consider:
- Cost Savings
- Improved Performance
- Enhanced Functionality
Phased Approach
A phased migration minimizes disruption and allows you to gain experience with Azure before transitioning everything. Here’s how to approach it:
- Prioritize Workloads: Identify critical workloads that benefit most from the cloud. Start with non-critical applications for testing and learning before migrating core business functions.
- Pilot Migration: Select a small set of applications for a pilot migration. This allows you to test the migration process, identify any challenges, and refine your approach before a larger rollout.
- Wave-based Migration: Migrate workloads in stages, with each wave building upon the learnings from the previous one. This minimizes downtime and ensures a smoother overall migration.
Tool Selection
Microsoft offers Azure Migrate, a free suite of tools designed to simplify cloud migration. Here’s what it provides:
- Assessment: Azure Migrate helps assess your existing infrastructure, identify dependencies between applications, and estimate migration costs.
- Migration: The toolset facilitates migrating workloads to Azure VMs (Virtual Machines) or Azure App Service.
- Post-migration: Azure Migrate helps with post-migration tasks like workload optimization and cost management.
3. Establishing Your Azure Environment
Migrating to Azure involves setting up your cloud environment to house your migrated workloads. This step ensures a secure and functional platform for your applications. Here’s a breakdown of the key processes:
Subscription and Account Setup
- Azure Subscription: This is your account within Azure that defines your service limits, billing, and access control. Choose the right subscription type based on your organization’s needs (e.g., Pay-As-You-Go for flexibility or Enterprise Agreements for committed spending discounts).
- Access Controls: Azure offers granular access control using Azure Active Directory (AAD). Assign roles to team members defining their permissions to manage resources within your subscription. This ensures security and prevents unauthorized access.
Resource Creation
- Resource Groups: Organize your Azure resources logically using resource groups. Group-related resources like virtual machines, storage accounts, and databases for easier management and cost tracking.
- Essential Resources: Based on your migration plan, provision necessary Azure resources. Here are some common ones:
- Virtual Networks (VNet): Create a secure, isolated network environment within Azure for your virtual machines and other cloud resources.
- Storage Accounts: Store your application data in Azure storage accounts. Choose the appropriate storage type (e.g., Blob storage for unstructured data, Azure Files for file shares) based on your data needs.
- Compute Services: Select the compute service that best suits your workloads. Azure offers various options like Virtual Machines (VMs) for traditional server deployments, Azure App Service for web applications, and Azure Functions for serverless computing.
Network Connectivity: Bridging the Gap
- Hybrid Connectivity: If you’re migrating from an on-premises environment and need to connect your on-prem resources to Azure, establish secure network connectivity. Here are two common options:
- VPN Gateway: Create a Virtual Private Network (VPN) connection between your on-premises network and Azure. This allows secure communication over the public internet.
- ExpressRoute: For a dedicated and more performant connection, consider ExpressRoute. This service establishes a private connection between your on-premises data center and Azure bypassing the public internet.
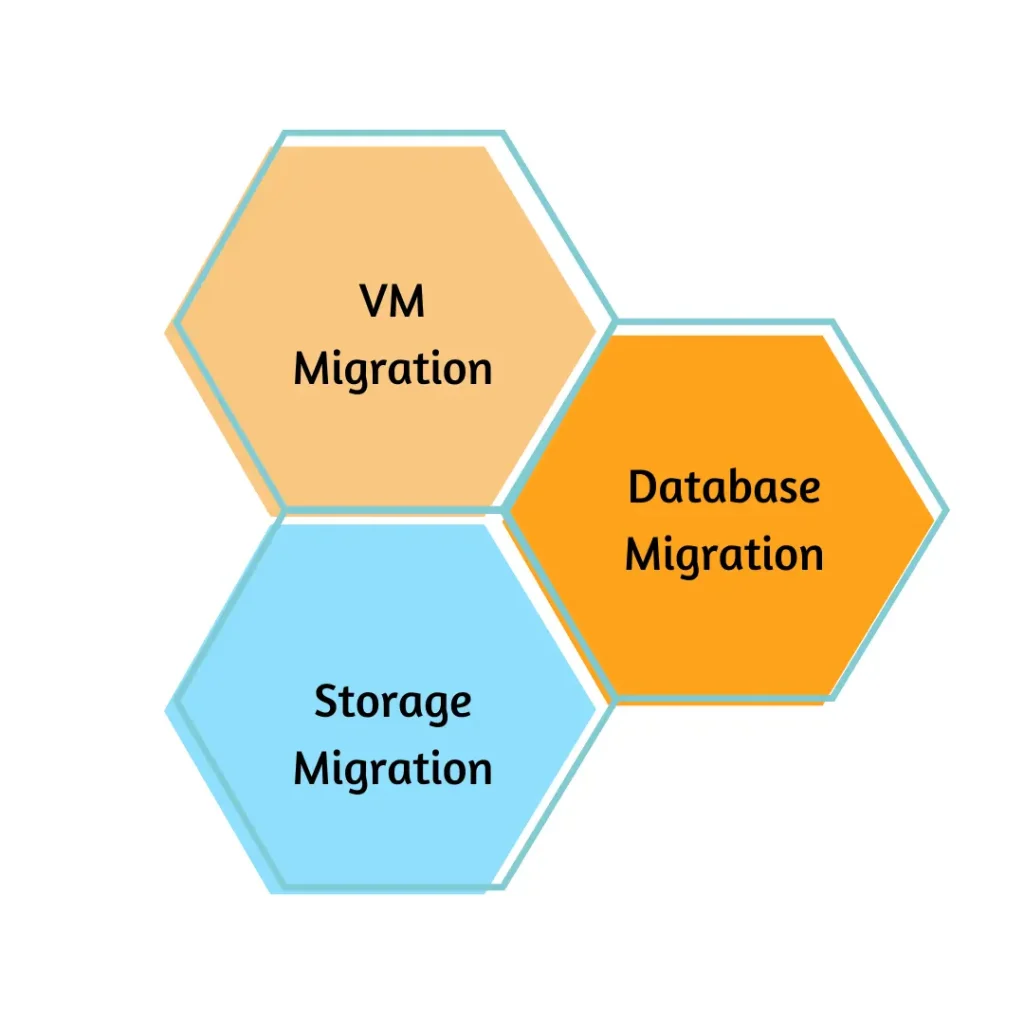
4. Data Migration Strategies

VM Migration
Azure Migrate simplifies VM migration with various options, each impacting downtime differently:
- Agent-based replication: Continuously replicates VM data to Azure, minimizing downtime during the final switch (cutover). An agent on your AWS VM is required. (**Low downtime, best for critical workloads)
- Storage replica: Replicates entire storage volumes from AWS to Azure for faster initial setup, but with some downtime during cutover. (**Moderate downtime, good for balance)
- Offline migration: Export VM data from AWS and import it to a new Azure VM. This is the simplest method but has the most downtime. (**High downtime, suitable for non-critical workloads)
Choose the method that best fits your downtime tolerance. Prioritize agent-based replication for minimal downtime, or storage replica for faster setup if downtime is acceptable.
Database Migration
The Azure Database Migration Service helps move your databases from AWS to Azure. Compatibility is key:
- Compatibility check: Use this service to ensure your databases can run on Azure. It may identify conversion needs before migration.
- Migration approaches: Depending on compatibility and downtime tolerance, choose from:
- Online migration: Migrate with minimal downtime, ideal for non-critical databases.
- Offline migration: Take the database offline on AWS for migration, resulting in downtime for your application.
- Selective migration: Move specific data subsets instead of the entire database.
Choose the approach that balances downtime tolerance, database size, and complexity.
Storage Migration
Azure offers tools to migrate data from AWS S3 to Azure Blob Storage:
- Azure Data Factory: A user-friendly service for orchestrating data movement. It offers a managed service approach (Microsoft handles the underlying infrastructure).
- Third-party tools: These tools may offer additional features like advanced data filtering. However, they might require more configuration.
5. Testing and Validation
Test Migrations
- Non-critical Workloads First: Conduct test migrations using non-critical workloads. This allows you to:
- Validate the migration process: Test the chosen migration methods for VMs, databases, and storage to identify any challenges or roadblocks.
- Refine your approach: Based on the test migration results, refine your overall migration strategy, tool selection, or configuration settings.
- Identify potential issues: Uncover any compatibility problems, performance bottlenecks, or security concerns before migrating critical workloads.
By conducting test migrations, you gain valuable experience and confidence in your migration approach before moving your most important applications.
Security Testing
Security is paramount in the cloud. Here’s how to ensure your migrated resources are secure in Azure:
- Security Best Practices: Adhere to Azure’s well-established security best practices. These guidelines cover aspects like access control, data encryption, and vulnerability management. Microsoft provides extensive documentation on these practices.
- Vulnerability Scans: Regularly scan your Azure resources for vulnerabilities. Azure offers built-in vulnerability scanning services or you can leverage third-party tools. These scans identify potential security weaknesses in your deployed resources.
- Penetration Testing: Consider conducting penetration testing (pen testing) to simulate real-world attacks. Pen testing helps uncover security gaps that vulnerability scans might miss. These tests are typically performed by security professionals.

6. Migration Execution and Cutover
With your environment prepared, migration methods chosen, and testing completed, it’s time to execute the actual migration and switch over to Azure. Here’s a breakdown of the key steps:
Phased Migration
- Migration Plan Execution: Follow your defined migration plan, prioritizing non-critical workloads first. This allows you to gain experience and confidence before migrating mission-critical systems.
- Gradually migrate workloads in phases, ensuring each phase is stable before moving on to the next.
- Monitor the migration process closely, addressing any issues that arise during each phase.
By adopting a phased approach, you minimize disruption and ensure a controlled migration process.
Cutover and Validation
- Cutover: Once all workloads are successfully migrated, perform the final cutover. This involves switching traffic flow from AWS to Azure, making your applications accessible through the Azure environment.
- This is a critical step, so ensure a well-defined cutover plan is in place outlining the specific actions and timeline.
- Validation: After cutover, thoroughly validate the functionality and performance of your migrated workloads in Azure. This includes:
- Testing application functionality to ensure everything works as expected.
- Monitoring performance metrics to identify any bottlenecks or unexpected behavior.
- Verifying data integrity to confirm all data has been transferred accurately.
7. Post-Migration Tasks
- Optimization: Analyze resource utilization in Azure and identify opportunities for cost optimization. Utilize Azure services like Azure Cost Management to gain insights.
- Monitoring and Management: Establish monitoring tools and processes to track performance, security metrics, and resource health in your Azure environment.
- Decommissioning: Once confident in the stability of your Azure environment, decommission your AWS resources to avoid unnecessary ongoing costs.
Conclusion
Migrating from AWS to Azure requires careful planning and execution. You can ensure a smooth and successful migration by following a structured approach, leveraging available tools, and conducting thorough testing. Remember, this guide provides a general framework, and specific details might vary depending on your unique cloud environment and migration goals.

